
Beauty and wellness guide
To use inTusell in a beauty centre, salon or gym, create your account, pick the "Cosmetics & Beauty" industry and your business type, connect WhatsApp and Instagram and enter your services and working hours in the appointment settings. The AI suggests free slots, books appointments and sends reminders 1 day and 2 hours ahead; you define group classes.
Who this is for
- Beauty centres, skin care and beauty salons
- Gyms, pilates and fitness studios
- Businesses that receive appointment and product questions on WhatsApp or Instagram
Before you start
- A phone running your business WhatsApp
- A list of your services, their durations and prices
- For Instagram: a Professional account linked to a Facebook Page
Sign up and the setup wizard
The wizard has three steps: Company, Channel and Ready. You can skip the channel step and finish it later in the panel.
- 1
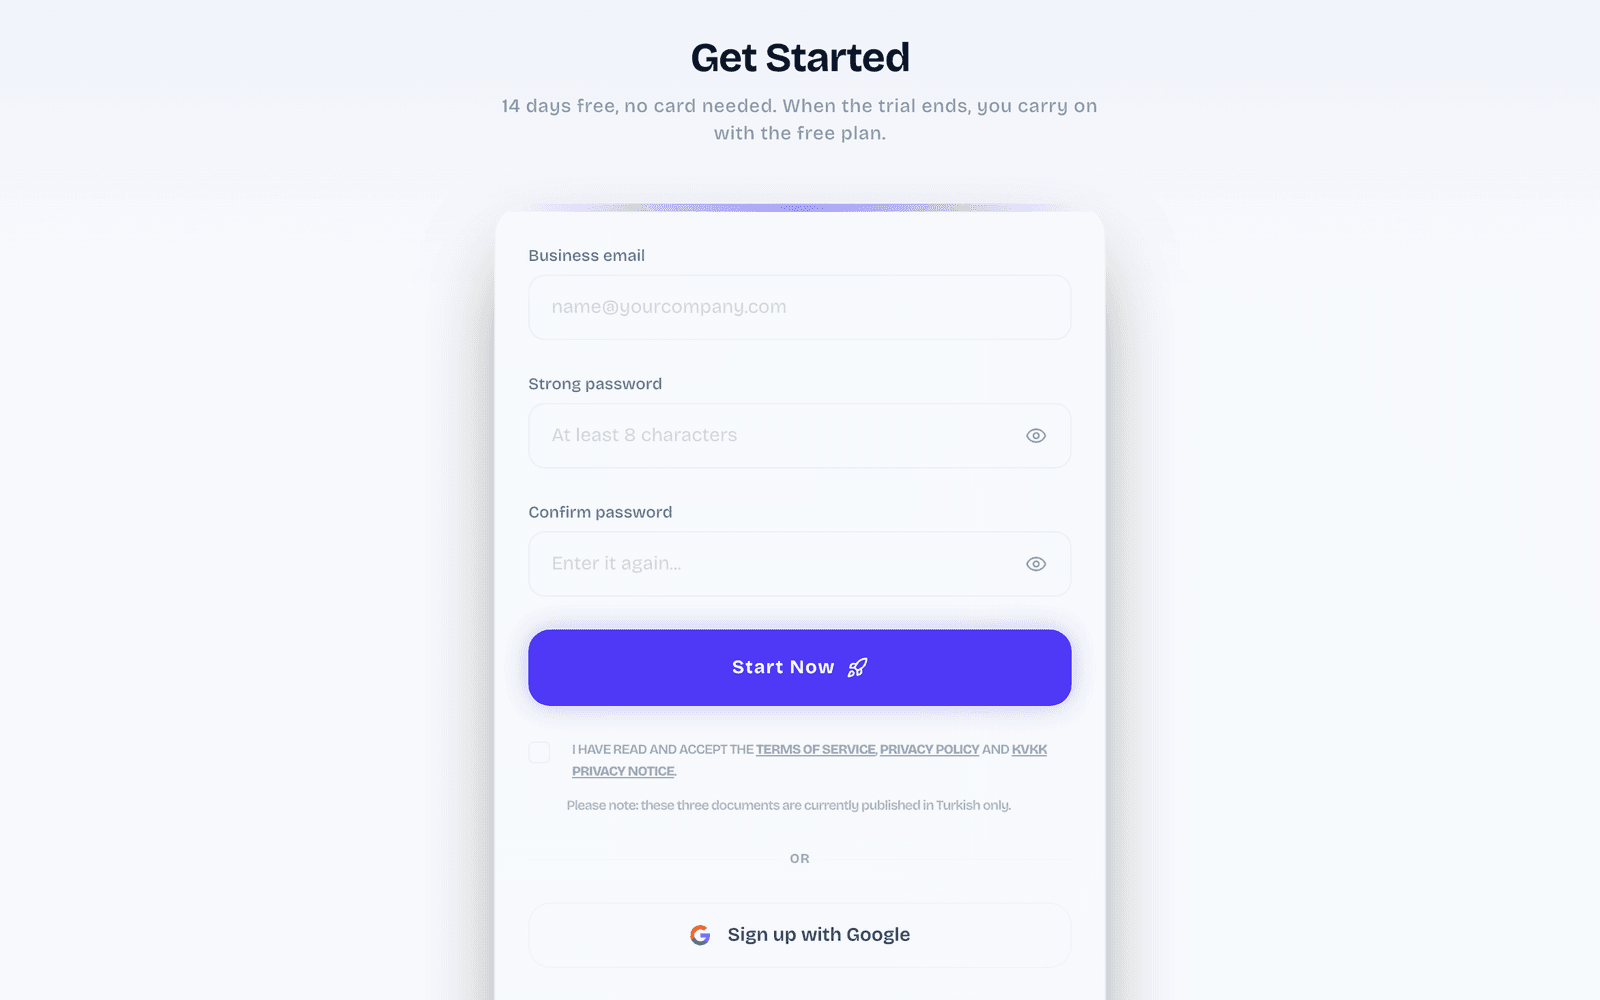
Create your account
Sign up on intusell.com. Your account opens with a 14 day trial.
- 2
Tell us about your company
On the "Company" step enter your business name and pick "Cosmetics & Beauty" under "Industry". Add your website if you have one: the AI reads it to learn your products, prices and FAQs.
- 3
Pick your business type
Under "Business type" pick the general beauty centre or salon type, or the gym and fitness type. The AI’s industry knowledge follows it; you can change the type later in My business › Business Info.
- 4
Connect a channel or do it later
On the "Channel" step pick WhatsApp, Instagram or Web chat. For WhatsApp click "Show the QR code" and scan it with the phone that runs your business WhatsApp; for Instagram click "Connect Instagram" and approve on Facebook; for web chat copy the one-line code (this also turns on your web chat) and paste it into your site. "I’ll connect later" moves on without a channel.
- 5
Review how the AI will talk
The "Ready" step shows the tone, the first message and the priorities of your AI. "Go to the dashboard" opens the panel; "Edit" opens the AI settings.
Connect your channels
- 1
WhatsApp with QR
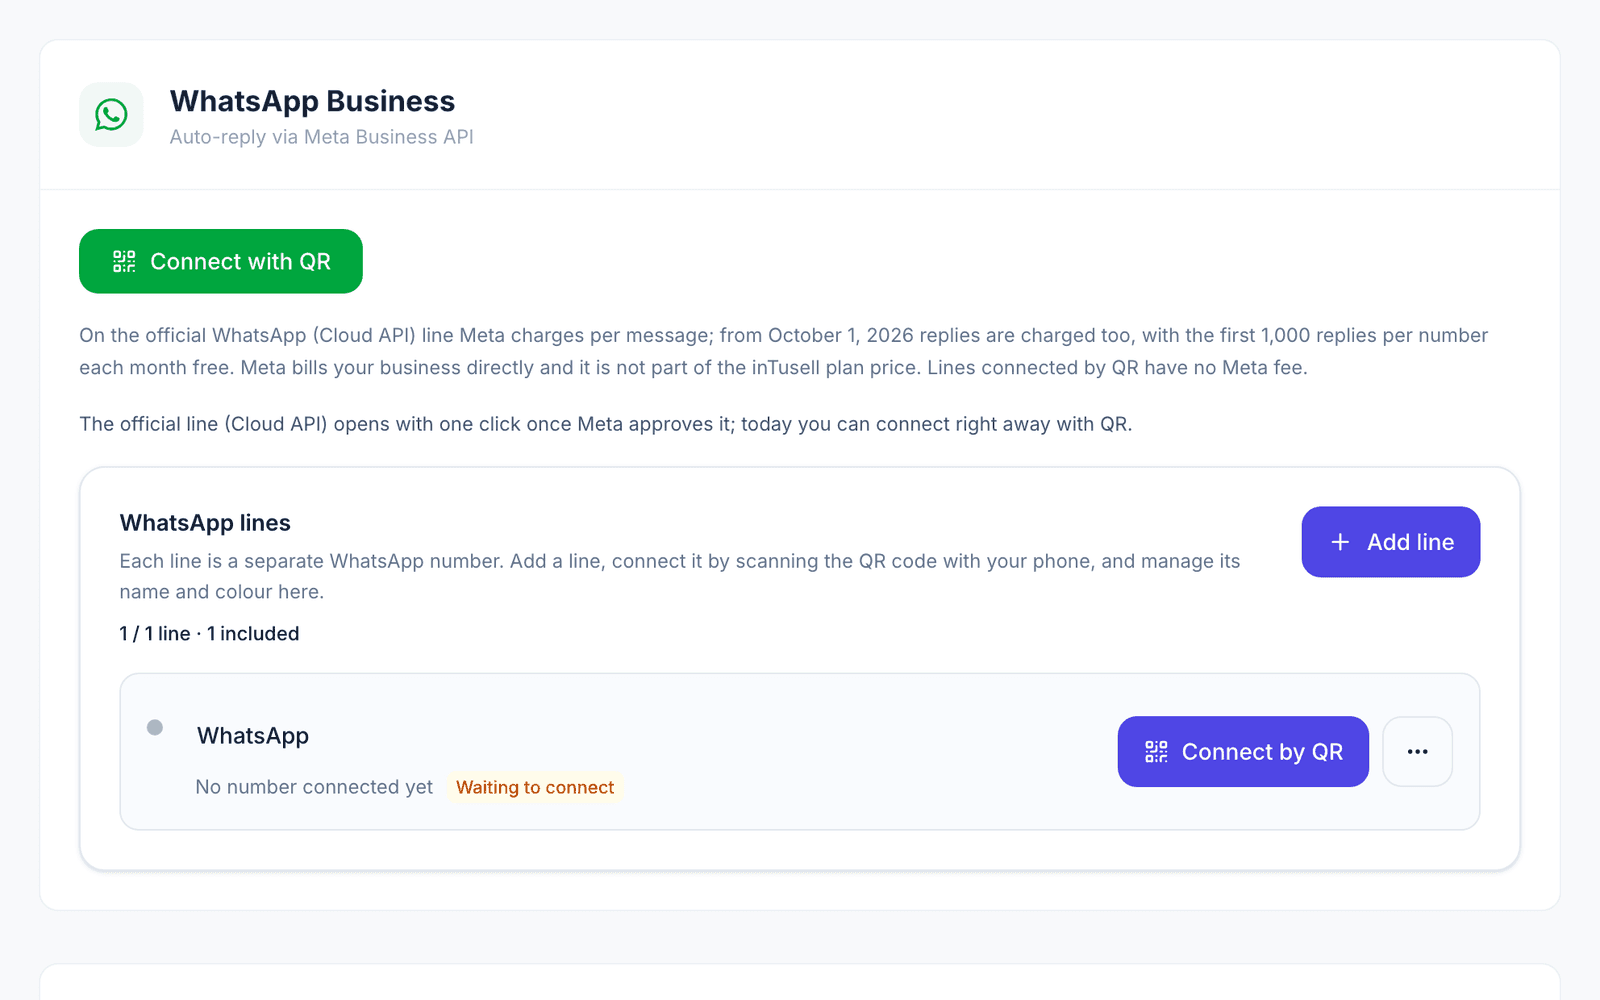
Go to My business › Channels › Messaging Channels and click "Connect with QR". On your phone open WhatsApp › Settings › Linked devices › Link a device and scan the code. Your phone keeps working alongside the panel. The official WhatsApp line (Cloud API) opens after Meta approval; today QR is the way to connect.
- 2
Instagram through Meta
On the same page, in the "Meta Platforms" card, click "Connect All" or the "Instagram" tile. Log in with the Facebook account that manages your business Page. In the Meta window tick your Page and your Instagram account, then approve.

- 3
Check the connection
After you return to the panel the Instagram card shows as connected. If a warning appears, it says what is missing and has a "Reconnect" link.
Appointments and specialist calendars
- 1
Connect Google Calendar
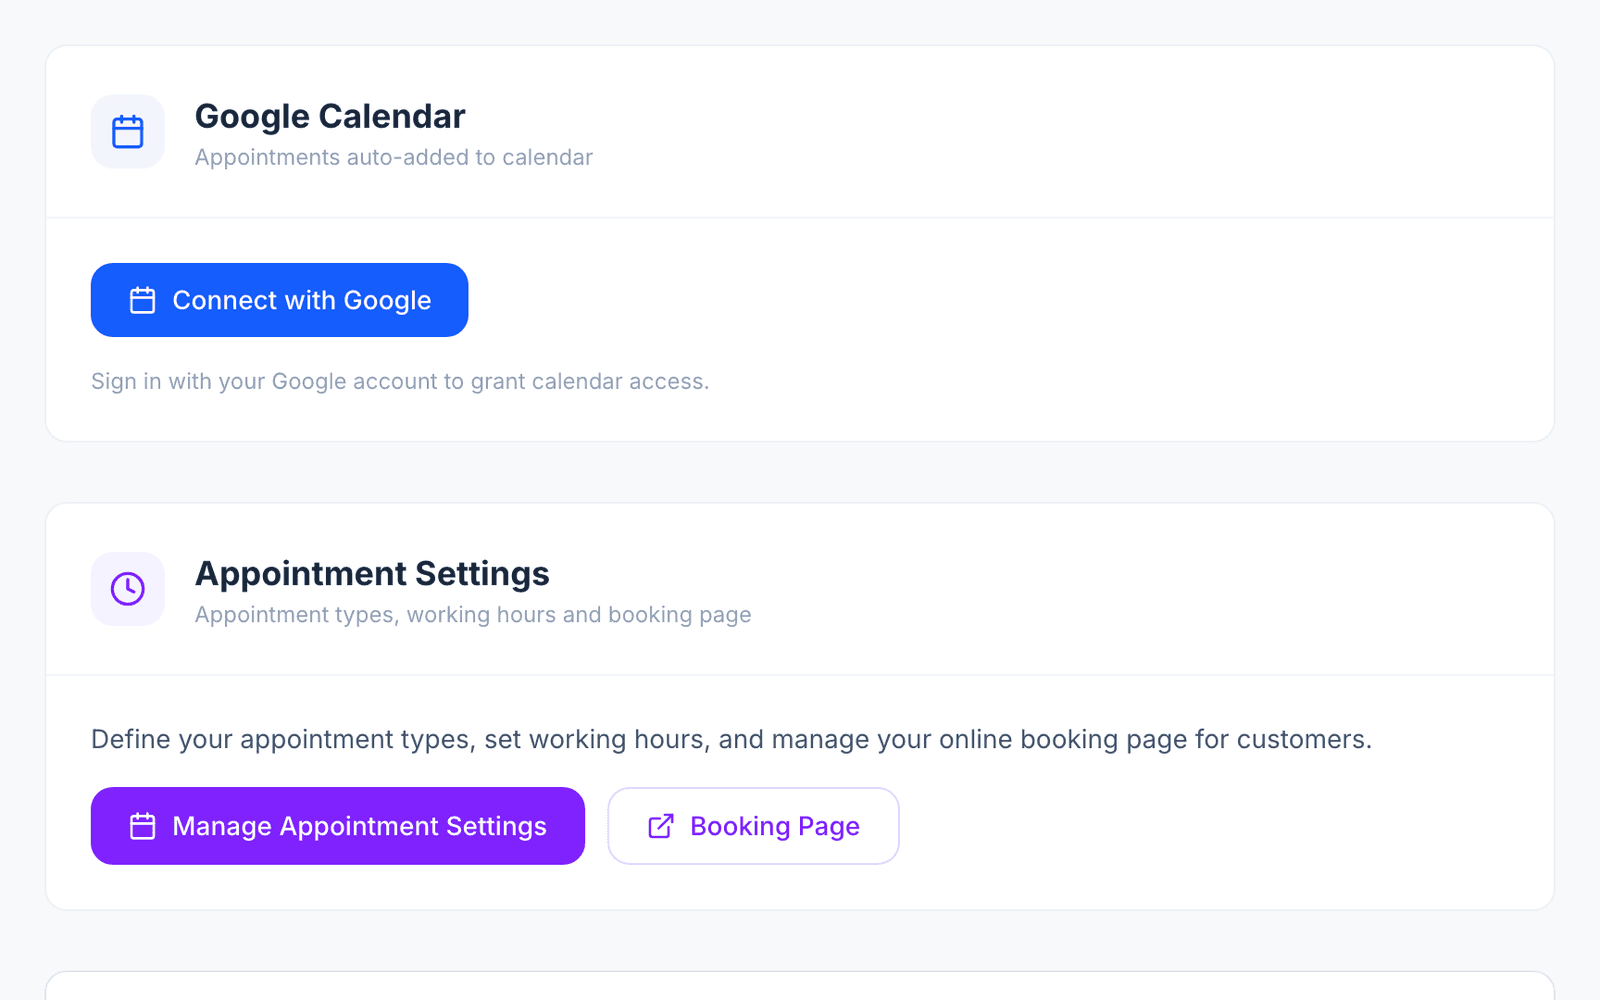
On My business › Channels › Calendar & Payment, click "Connect with Google" and sign in with your Google account. Only the owner or an admin sees this button.
- 2
Enter your services and hours
In "Manage Appointment Settings", use "Add Type" in the "Service Types" section to add each service with its duration, and edit the "Working Hours". The AI only suggests free slots within these hours.
- 3
Add your specialists
In the "Specialists" section of the same page, add each specialist and choose their "Services provided" and working hours. When a customer names a specialist, the AI suggests that person’s free slots. Without specialists the calendar works business-wide.
- 4
Let the AI book
When a customer asks for an appointment, the AI suggests free slots and books the one the customer picks. It shows in the Appointments room and in your Google Calendar.
Reminders and no-shows
- 1
Reminders go out on their own
Customers get a reminder 1 day and 2 hours before the appointment. If the customer came from Instagram and has not written in the last 24 hours, Meta does not accept the message; with the customer’s phone and your SMS provider, or their email, the reminder goes out that way instead. The 1 day message asks whether they will come; the appointment is confirmed, rescheduled or cancelled from the reply.
- 2
Mark who came
After the appointment time, mark the appointment as "Attended" or "No-show" in the Appointments room; the mark goes into the appointment’s record. When you mark "No-show", the AI offers the customer new free slots; if you mark it overnight (23:00-08:00), no message goes out.
Group classes
For fixed-time classes such as pilates, yoga or group training.
- 1
Enter the weekly schedule
In the "Group Sessions: Weekly Schedule" card of the appointment settings, enter the class name, day, start and end time and capacity, then click "Add". The system creates the classes for the next 28 days itself.
- 2
Let the AI enrol against remaining seats
The AI offers upcoming classes with their remaining seats and never offers a full class.
Fill the knowledge base
The AI answers from your knowledge base. Add your services, prices, specialists, the products you sell and FAQs.
- 1
Open the Knowledge Base
Go to My business › Knowledge › Knowledge Base.
- 2
Add your sources
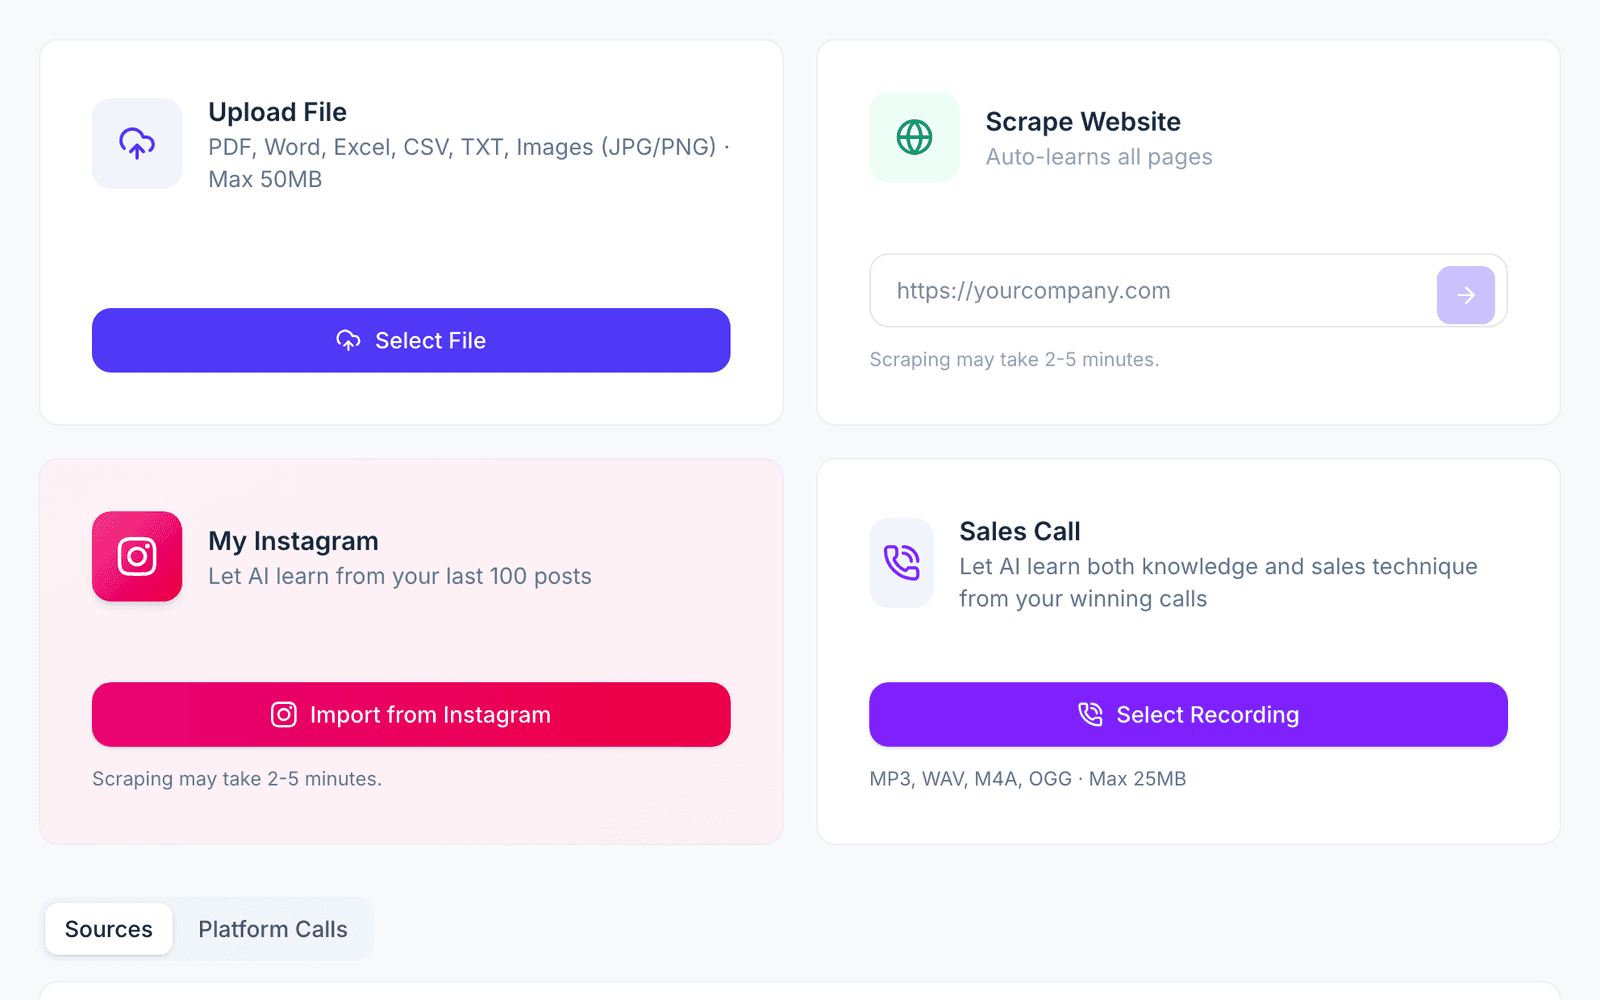
Upload files (PDF, Word, Excel, CSV, TXT or images, up to 50 MB), scan your website (it can take 2 to 5 minutes), import your Instagram profile (your last 100 posts) or add a sales call recording.
 Video for this section (in Turkish) · 2 minKnowledge Base: teach the AI your business once (in Turkish)
See the AI’s first reply
- 1
Try it in AI Test
Go to My business › Instructions › AI Test and write the questions your customers ask. Check that the answers use your knowledge base.
- 2
Send a real message
From another phone, send a message to your connected WhatsApp number or Instagram account. The conversation appears under Conversations › Inbox with the AI’s reply.
 Video for this section (in Turkish) · 3 minTrain your AI: knowledge, rules, testing and coaching (in Turkish)
Daily use
- 1
Start from Today and Decisions
Today shows what needs attention. Decisions collects the questions the AI asks you, for example before a cancellation or when it does not know the answer.
- 2
Follow your work in Appointments
The Appointments room is where your daily work lives. Conversations keeps the Inbox, Contacts and the Sales Pipeline.
- 3
Choose how much the AI does
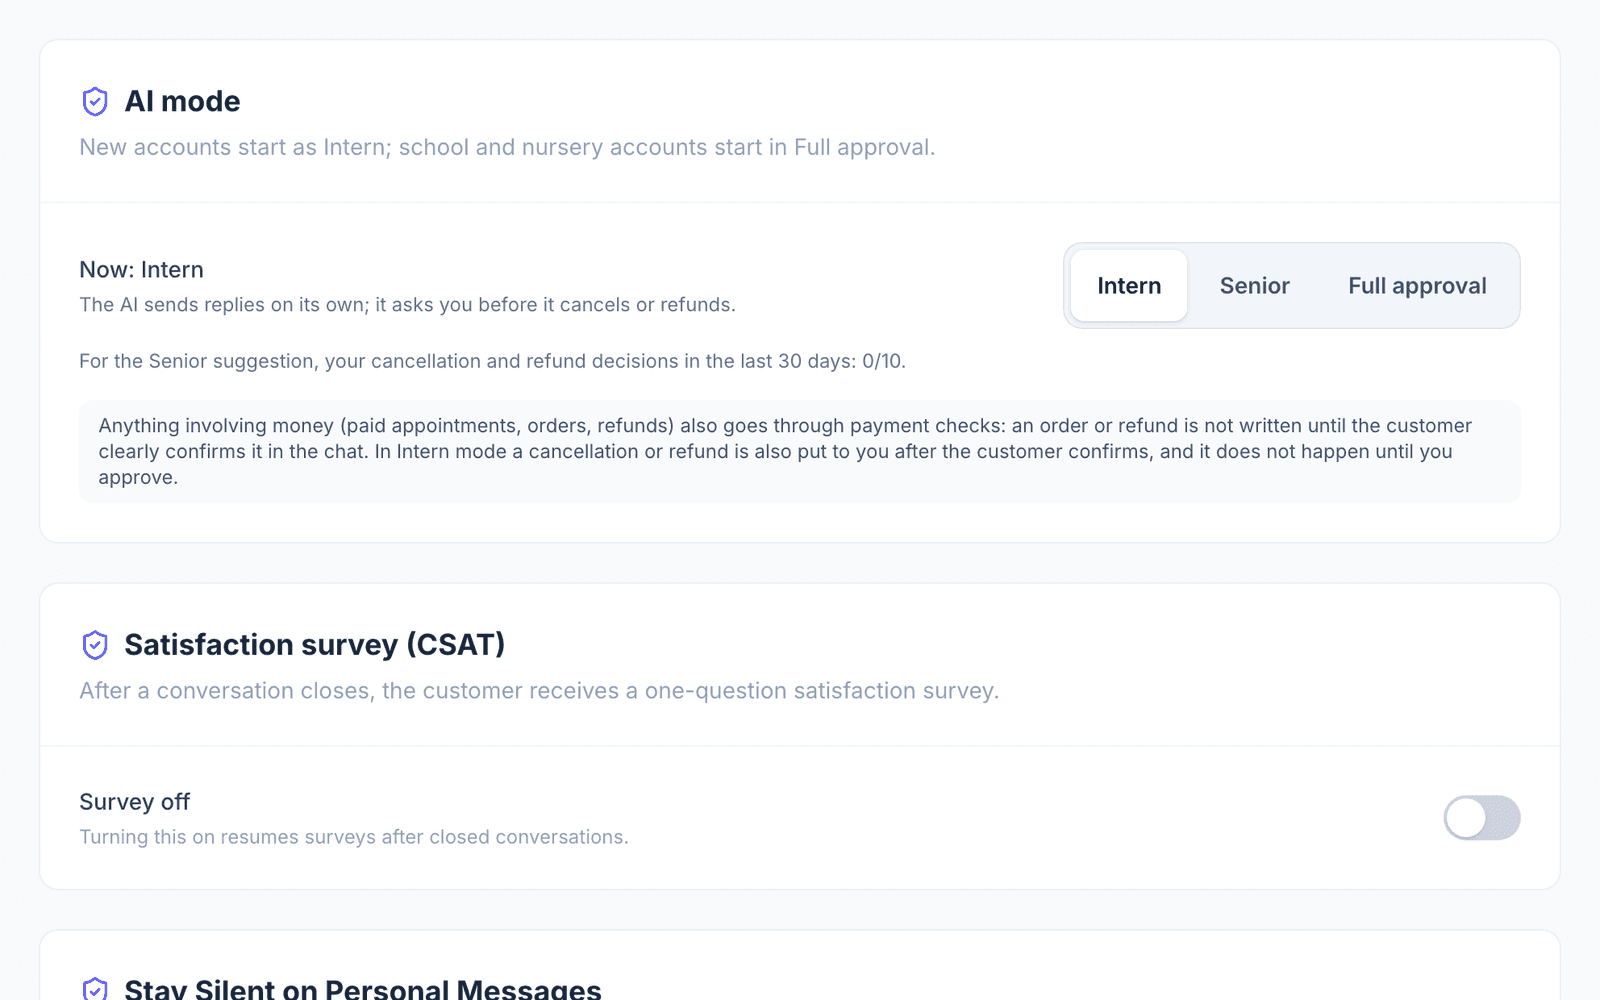
In My business › Instructions › AI Settings, under "How it works", pick the AI mode: Intern (the default) sends replies itself and asks you before a cancellation or refund and when it does not know the answer; Senior also handles cancellations and refunds; Full approval waits for your approval before every reply (email has no approval queue, so the AI does not reply there).
- 4
Take over a single conversation
Inside a conversation you can switch it to Live, Approval, Shadow or Paused. The change applies to that conversation only.
Things to keep in mind
- Reminders, confirmation questions and no-show messages go out on the trial and on paid plans; on the Free plan they are not sent to customers and your settings stay.
- Mark "No-show" no later than 2 hours after the appointment ends. An unmarked appointment turns into "No-show" on its own at that point; the new-time message then only goes out if you marked at least one customer as "Attended" in the last 30 days. Group class bookings do not get this message.
- The AI may write preferences such as skin type to the contact card; it never writes health details such as allergies or sensitivities, your team enters those by hand.
- Setup adds no group classes; until you define a class, the AI offers no group classes.
- If you also sell products, Products stays in the menu under My business › Knowledge. Orders does not appear in the menu in this industry; open it with search (⌘K). The menu shows no store platform connection in this industry either.
Common problems and fixes
- Problem: The AI does not suggest free slots.
- Fix: Check the Google Calendar connection on Calendar & Payment and the "Working Hours" in "Manage Appointment Settings".
- Problem: The AI does not book the requested specialist.
- Fix: Check in "Specialists" that the person has a record, that "Bookable" is on and that the requested service is in "Services provided".
- Problem: Instagram messages are not arriving.
- Fix: Check that the Instagram account is Professional and linked to your Facebook Page; use the "Reconnect" link on Messaging Channels.
Frequently asked questions
What if a customer asks for a specific specialist?
The AI suggests that specialist’s free slots. If the name matches more than one person it never picks at random; it asks which one.
When do reminders go out?
1 day and 2 hours before the appointment. The 1 day message asks the customer whether they will come. If the customer came from Instagram and has not written in the last 24 hours, Meta does not accept the message; with the customer’s phone and your SMS provider, or their email, the reminder goes out that way instead.
Can I use it for a gym?
Yes. Pick the gym and fitness type under "Business type" at setup and define your group classes in the "Group Sessions: Weekly Schedule" card.
Does the AI save a customer’s allergies?
No. The AI never writes health details such as allergies or sensitivities to the contact card; your team enters them by hand.
Can two specialists take appointments at the same time?
Yes. The calendar works per person: two different specialists can take two appointments at the same hour, while the same specialist cannot be double-booked.
Related guides and articles
Other industry guides
- E-commerce guideConnect your store so the AI answers product, stock and order questions.
- Clinic guideSet up appointments, reminders and no-show follow-up.
- Tailored setup guideBuild your own setup when no ready-made industry fits.
- Education guideSet up campus tours, group sessions and parent conversations.
- Tour agency guideAdd your tour packages so the AI quotes from the price matrix and opens bookings.
- Hotel and stay guideTurn on the stay module and add your properties and room types.
Stuck on a step? Write to us; a screenshot helps us solve it faster.
Contact us